

Isolation gowns are essential protective gear in healthcare settings, providing a barrier against infections and contaminants. With the increasing demand for personal protective equipment (PPE), learning how to make isolation gowns can be a valuable skill for individuals, small businesses, and community initiatives. Whether you’re responding to shortages, supporting your local healthcare workers, or simply looking to make gowns for personal use, creating them at home or on a small scale is a practical and rewarding endeavor.
In this guide, we’ll walk you through how to make isolation gown, key considerations, and a step-by-step process to craft a reliable isolation gown that meets safety standards. Whether you’re an experienced tailor or a beginner, you’ll find this resource informative and easy to follow. Let’s get started!
Table of Contents
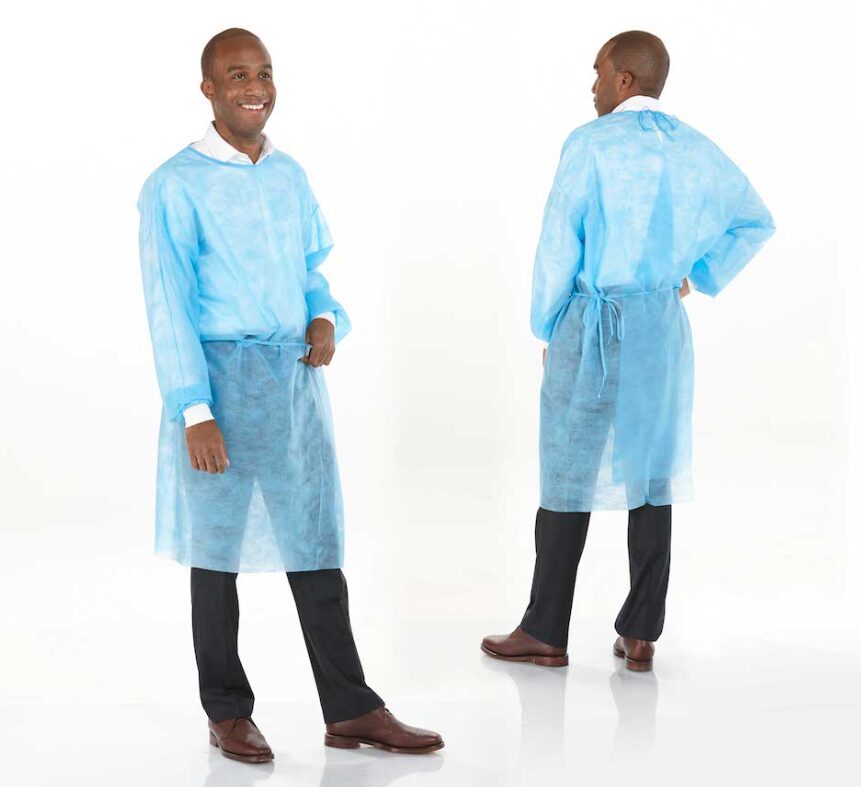
Supplies Needed for Making an Isolation Gown
Creating your own isolation gown requires some basic supplies and tools to ensure efficiency and durability. Below is a comprehensive list of items you’ll need, along with preparation tips to help you get started:
Related: How to Wash Reusable Isolation Gowns
Materials and Tools:
Plastic Sheeting: A 12′ x 400′ roll of 0.7 mil plastic sheeting (commonly available at hardware stores like Home Depot). This roll can produce multiple gowns.
Large Surface: A piece of cardboard, plywood, or sheetrock measuring at least 4′ x 6′ (preferably 4′ x 8′). This will serve as your workspace and template.
Measuring Tape and Straight Edge: For precise measurements and straight cuts.
Marker: Use an indelible marker (e.g., a thick Sharpie) to outline your gown pattern.
Cutting Tools: Sharp scissors or a box cutter for cutting the plastic sheeting.
Clothes Iron: To “seal” or “weld” the seams of the plastic (replaceable with a heat gun if available).
Parchment Paper: Acts as a barrier to prevent the iron from sticking to the plastic.
1-Gallon Paint Can: Useful for creating rounded edges or sleeve templates.
Step 1: Prepare Supplies, Workspace, and Template
Set Up Your Workspace: Choose a smooth, flat surface to work on, like a large piece of cardboard, plywood, or even a cement floor. Ensure the surface won’t stick to hot plastic when sealing the seams.
Create a Template:
Mark a reference line: Use a measuring tape to draw a 6-foot-long reference line on your surface.
Add a center line: Make a mark at the 3-foot point on the reference line and draw a vertical center line from that point.
Define gown dimensions: Measure 7 inches down from the reference line for the sleeve openings and 15 inches out from the center line for the gown width near the knees.
Draw curves: Use the paint can or other round objects to scribe curves for the sleeves and torso. Be generous in the armpit area for comfort and less so near the wrists to minimize excess material.
Test the Template: If possible, have someone lie down and loosely trace their shape (adding a 6-8 inch buffer) to ensure the template accommodates easy movement and proper coverage.
Step 2: Cut the Plastic Sheeting
Measure the Length: From the roll of plastic sheeting, measure and cut an 8-foot length. Fold this length in half to create the front and back sections of the gown.
Tips for Efficient Cutting:
Hang the plastic roll on a broomstick to easily unroll material.
Use sharp scissors to “push” through the plastic instead of making repetitive cuts for smoother edges.
Alternatively, place the plastic over a 2″ x 6″ wooden board and slice along a marked center line with a box cutter for faster production.
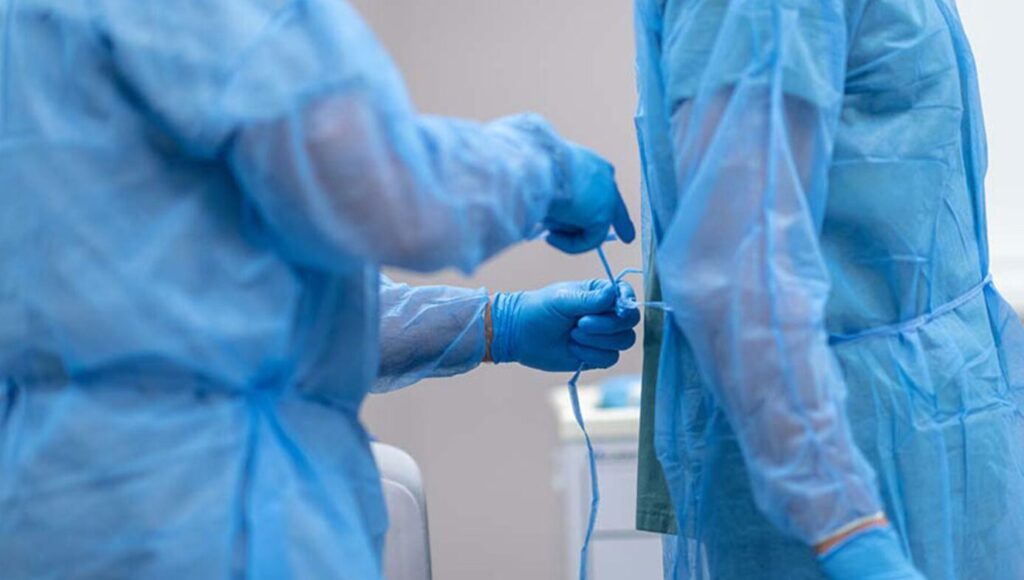
By organizing your workspace, preparing the right tools, and following these steps, you’ll set the foundation for creating high-quality isolation gowns efficiently and effectively.
Step 3: Create the Rectangular Shape and Fold
Once you’ve measured and cut the initial length of plastic sheeting, the next step is to shape and prepare the gown’s base structure. This involves cutting the material into manageable sections and folding it for alignment and symmetry.
Cut the 12′ Width in Half
Measure and mark the center of the 12-foot width of the plastic sheeting. This middle point divides the material into two equal sections of 6 feet each, which will form the arm spans for two gowns.
Option 1: Use a precise method to identify the center fold line. Folding patterns can help pinpoint the midline for accurate cuts.
Option 2: Enlist help to unfold the full 12-foot width, fold it in half (similar to folding a large sheet), and then cut along the folded edge.
Shape the Material
After cutting, you’ll have two rectangular pieces, each measuring 6 feet wide and 8 feet long.
Fold the 8-foot length in half, resulting in two folded sheets, each 6 feet wide and 4 feet tall.
Prepare the First Sheet
Lay one of the folded sheets onto your prepared template, aligning the folded edge along the top (shoulder) reference line. Ensure the material is centered on the template.
Set the second sheet aside for now or stack it with others if working in batches for an assembly line process.
By creating these folded sections, you set the groundwork for cutting and customizing each gown with precision.
Step 4: Outline the Neck Hole
The neck hole is a crucial part of the gown design, ensuring ease of wearing while maintaining protective coverage.
- Position the Template
- With the folded plastic sheet laid out on the template, locate the intersection of the center line and the shoulder reference line.
- Mark the Neck Hole
- Place a 1-gallon paint can or a similar round object at the intersection.
- Using a marker, trace the lower half of the paint can to create a curved guide for cutting the neck hole.
This marking ensures a consistent neck opening that is large enough for comfort but small enough to prevent exposure.
Step 5: Seal the Main Seams
Sealing the seams is a critical step to ensure the protective gown is both durable and effective. This process involves using heat to bond the layers of plastic together securely.
- Prepare the Workspace
- Lay the folded plastic sheet on a smooth, heat-resistant surface.
- Place parchment paper over the plastic to protect your heat source and prevent sticking.
- Use a Clothes Iron
- Set the iron to the highest setting (without steam).
- Slowly run the iron along the seams, pressing firmly. Move consistently to avoid overheating the plastic, which could cause holes or shrinkage.
- Ensure even pressure, especially over folds or wrinkles, to create a continuous, sealed weld.
- Alternative: Heat Gun
- Keep the heat gun set to a low-flow, high-heat mode. Hold the nozzle about 1 inch (2.5 cm) from the plastic.
- Move the heat gun at a steady pace (approximately 2 inches/sec or 5 cm/sec).
- Avoid staying in one spot to prevent holes or deformation. Allow the plastic to shrink naturally without restraining it.
- Test and Adjust
- Experiment with your heat settings and technique to achieve a strong, virus-proof seal.
- If available, a hair straightener or hot glue gun may also work for smaller seams.
Step 6: Cut the Neck Hole & Trim the Edges
After welding the seams, it’s time to refine the gown by shaping the neck opening and trimming excess material.
Cut the Neck Hole
Use sharp scissors or a box cutter to carefully cut out the pre-marked neck hole. Ensure the cut is clean and precise.
Trim Excess Material
Cut away the plastic 1-2 inches outside the welded seams. This ensures a neat appearance and removes unnecessary weight.
Recycle the trimmed scraps whenever possible.
Step 7: Test Fit and Inspect for Integrity
Ensuring the gown fits correctly and performs as intended is vital before production.
Test Fit
Try on the gown or have someone else wear it to check for proper fit and comfort.
Make adjustments to your template as needed, marking any changes with different colors or line styles.
Inspect the Seams
Inflate the gown by tying off the wrists and neck, then blow air inside.
Squeeze the inflated gown and listen/feel for any leaks. Strong, continuous welds should pass this test.
Clothes iron welds often perform better in these tests than those made with a heat gun.
Customization
Consider adding a slit up the back with easily breakable tabs at the neck and waist for easy removal if requested by health care providers.
Step 8: Share Your Gowns and Gather Feedback
Finally, share your finished gowns and collaborate with others to improve the design.
Distribute the Gowns
Donate or supply your gowns to local health care facilities, ensuring they are aware of their limitations as non-surgical alternatives.
Share Your Knowledge
Post your process, findings, and improvements online to help others replicate and refine the design.
Engage with health care workers for feedback and suggestions.
Refer to Guidelines
Review the CDC and FDA guidance for medical gowns to ensure your design meets basic safety and quality standards.
Conclusion
Creating DIY protective gowns is a practical and cost-effective solution in times of need, especially during shortages of personal protective equipment (PPE). By carefully following these steps, you can produce durable, virus-resistant gowns that meet the needs of health care providers and others requiring protection. While these gowns are not a replacement for high-quality commercial products, they serve as a viable alternative for low-exposure environments. Sharing your process, innovations, and resources can further enhance the community effort to support public health. Remember to prioritize safety, test for effectiveness, and comply with local guidelines and regulations.
FAQs
1. Can I use any plastic sheeting for making these gowns?
Yes, but it’s best to use lightweight plastic sheeting (0.7 to 1 mil thick) that is strong and flexible. Avoid overly thin materials that may tear or thicker materials that could restrict movement.
2. What tools can I use if I don’t have a clothes iron or heat gun?
A hair straightener or a hot glue gun with a flat tip can be used as alternatives for sealing seams. These tools may require more precision and practice to achieve consistent results.
3. How do I ensure the seams are completely sealed?
Inflate the gown like a balloon by tying off the neck and wrists, then apply pressure to check for leaks. A properly sealed seam should not allow air to escape.